4. How to execute the restore from a Drive Image backup with the Uranium Backup Recovery Disk
In order to recover a Drive Image backup, you have to use the recovery disk of Uranium Backup.
To create it, run Uranium Backup as administrator (right click on the Uranium Backup icon and then on Run Uranium Backup as Administrator).
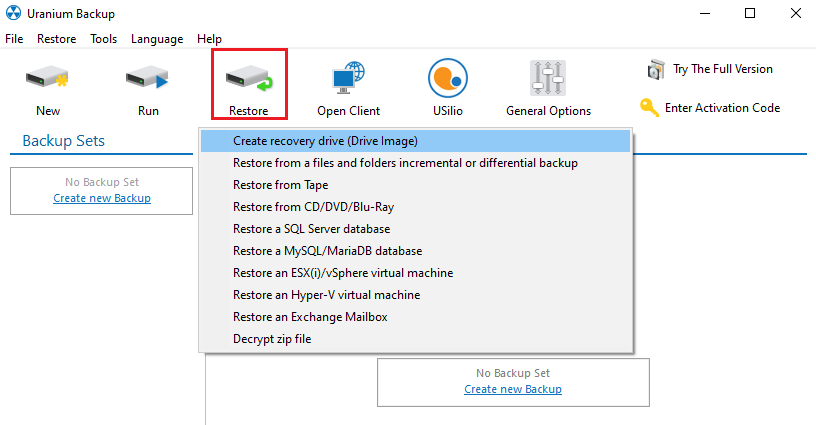
In the menu Restore click on Create recovery drive (Drive Image).
Clicking on the question mark in the upper right corner, you will be redirected page to download the recovery media for the operating system to restore:
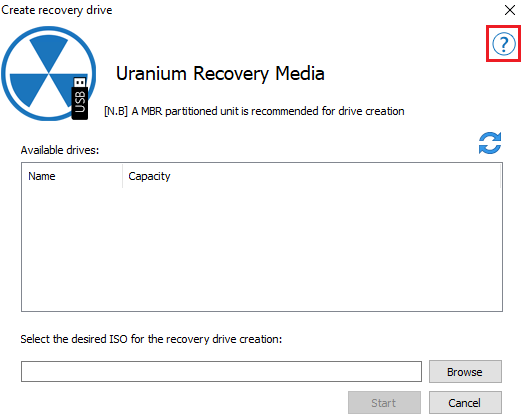
Choose the ISO to download according to the operating system that you backed up and that you want to restore:
- Windows 7×86 (32-bit)
- Windows 7 / Windows Server 2008 R2 x64 (64-bit)
- Windows 8 x86 (32-bit)
- Windows 8 / Windows Server 2012 x64 (64-bit)
- Windows 8.1 x86 (32-bit)
- Windows 8.1 / Windows Server 2012 R2 x64 (64-bit)
- Windows 10 x86 (32-bit)
- Windows 10 / Windows 11 / Windows Server 2016 / Windows Server 2019 x64 (64-bit)
Then, you have to use our utility to transfer the downloaded ISO to the desired support (USBDVD), that will be chosen as a boot device.
Start the machine with the recovery unit you’ve just created (when necessary, you have to modify the list of the boot devices from uefibios).
Finally, continue with the backup, select the path and the folder where the Drive Image backup (file .vhdx) has been saved and the related restore point.
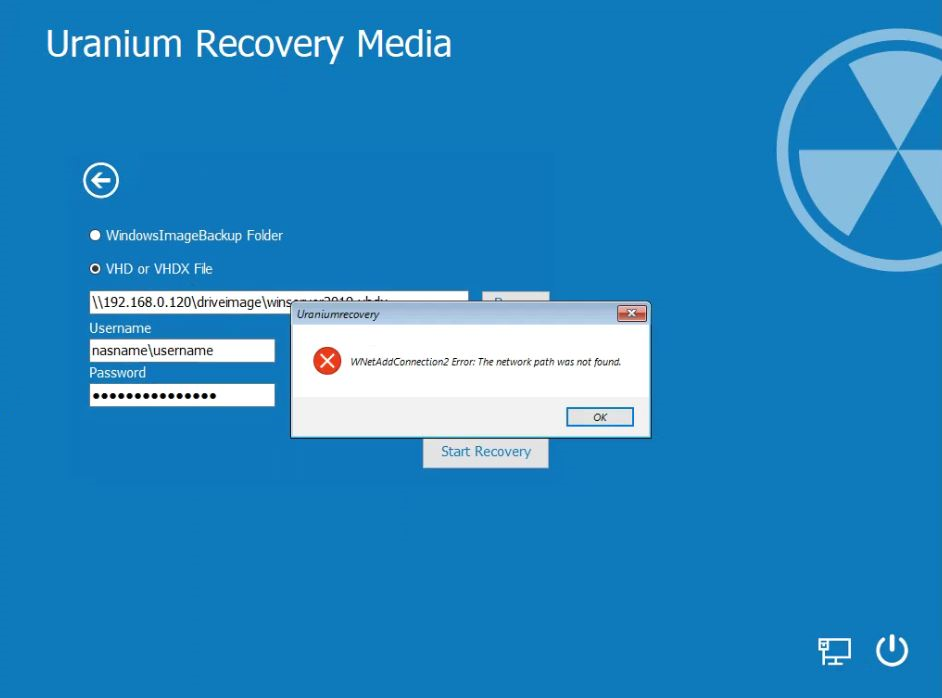
If the backup destination is on a network path, select the option VHD or VHDX file and choose the path containing the backup:
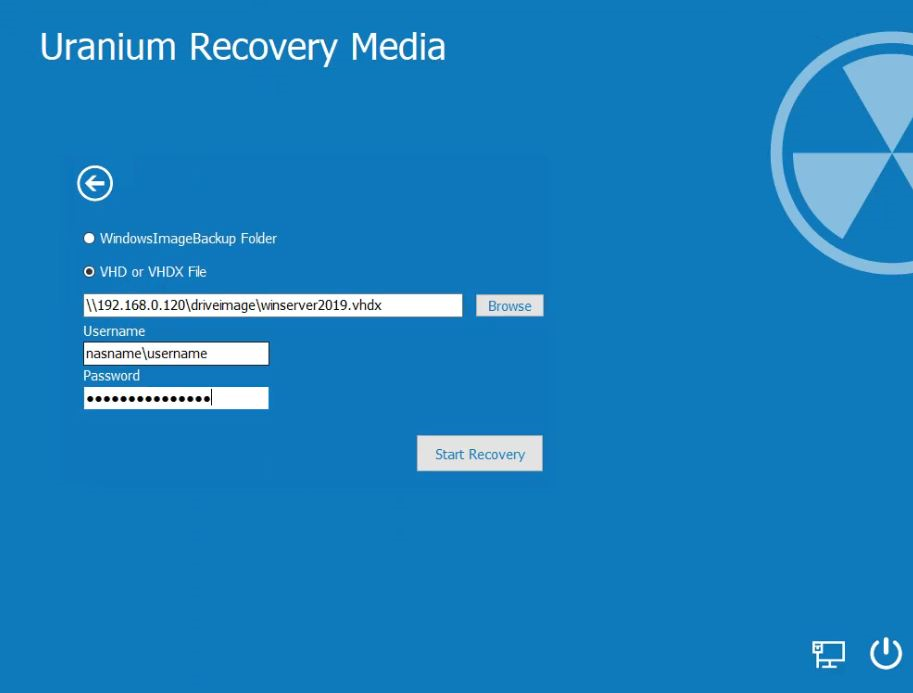
You have to enter the complete path of the backup.vhdx name and then confirm it by clicking on Yes:
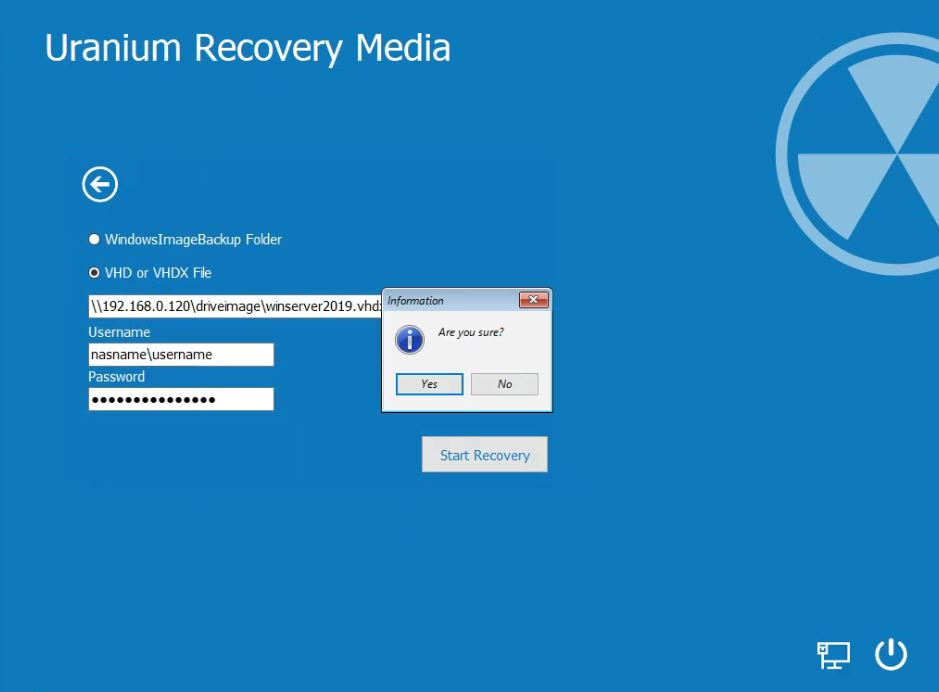
If you get an error message, check if the computer can reach the network path:
After selecting the backup, the restore will start and the content of the destination disk will be eliminated.
At the end of the process you have to restart the machine and the restore will be completed.

 Français
 Italiano
 Español